The Paul Brodie Whippet: Chain Ring
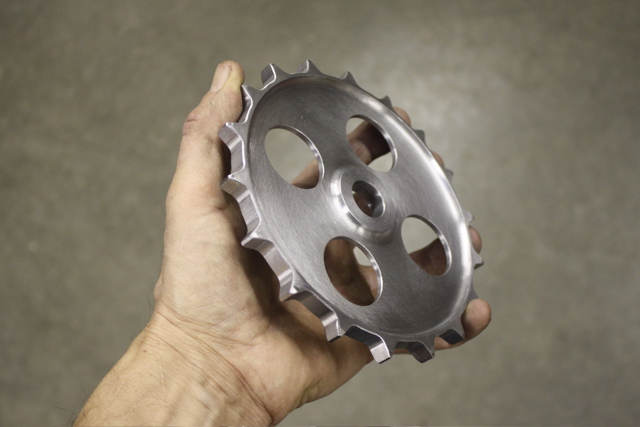
The Whippet Chainring was my next project. This is a 17 tooth chainring, but I made mine 18 teeth because it was so much easier to hold in a 3 jaw chuck. The chain is a 3/8" block chain. It was hard to find; I finally located one in England. Notice the 2 "stops" on either side of the crank arm..

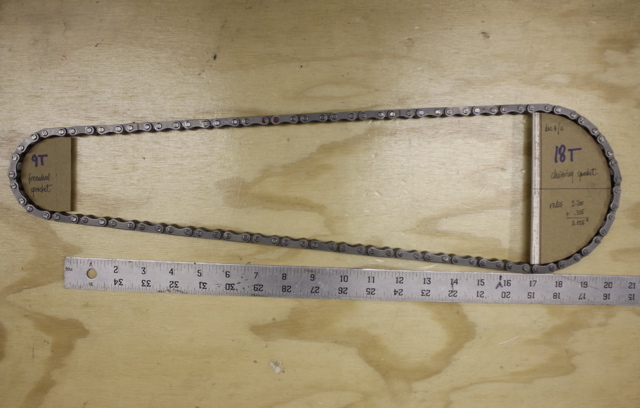
This is how I figured out the length of the chainstays. I knew approximately the size of the sprockets, and the cardboard cutouts worked fine for this >
I used a scrap 1/4" aluminum plate and cut a circle on the bandsaw. Then I mounted the disc on a spigot and slowly made the OD smaller... can you see the 2 (almost vertical) scribe lines in the bluing? When I had 9 chain links perfectly between the lines, that was the base circle OD for my 18T sprocket >
I had a chunk of 3/8" steel plate lying around, so the bandsaw cut out a circle >
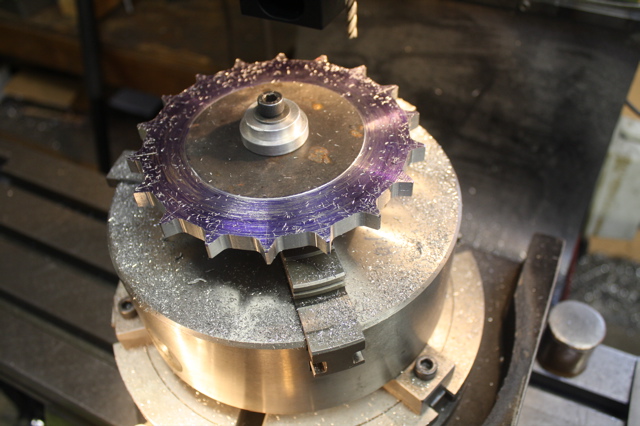
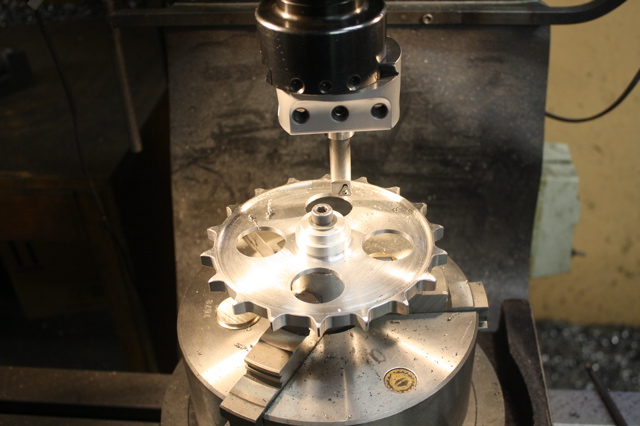
The disc was partially "skimmed" in the lathe, and the tooth pattern accurately scribed on Machinist Blue. Back to the vertical bandsaw to carefully cut away between the lines. Now it's mounted on a spigot, held in the chuck on the rotary table, awaiting a 1/4" carbide endmill >
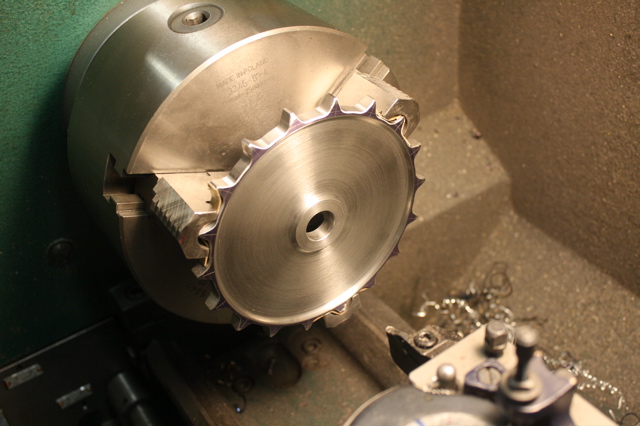
Now you can see the shape of the teeth. All block chain sprockets have a 1" pitch. Block chains are often used in industrial applications, such as conveyors. Block chains are heavy, but very strong >
This is why I chose an 18T sprocket: very easy to hold for the 1888 weight reduction program >
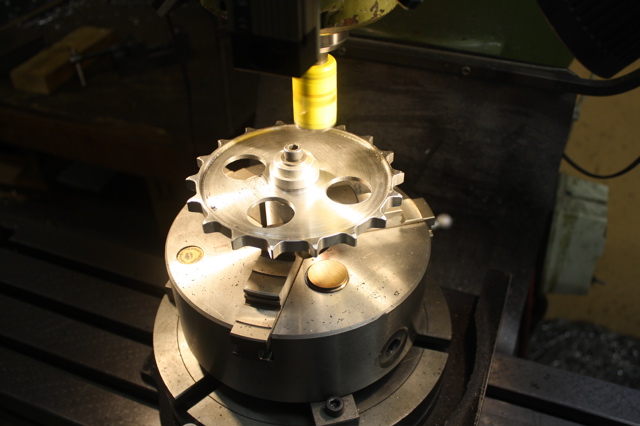
Back in the rotary table on the mill, where a holesaw cuts out 4 holes >
A holesaw leaves a rough surface, so a boring head using a carbide insert tool was used for the final holes >
Getting close, but I still have to make the "stops" to hold the crank arm, remember?
The stops were a bit complex. I put the mill head at 20 degrees, and cut out this shape. In the other end I machined a mirror image, because I needed a left and a right >
From that I traced my cardboard pattern, and used the bandsaw to cut out these 2 shapes >
After some filing and polishing, these were the final shapes. I used a tiny c-clamp to hold each one to a flat bar when I worked on them >
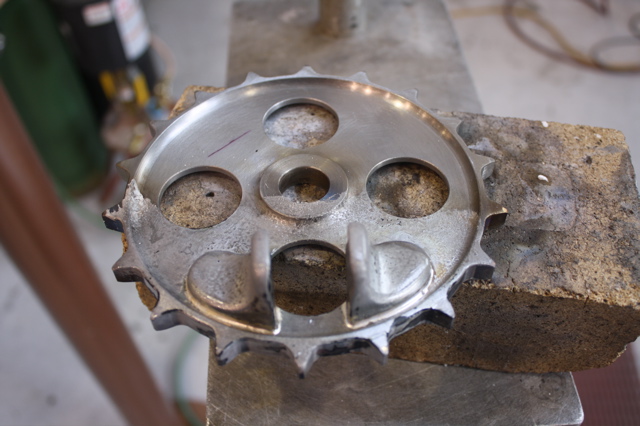
I fitted the crank arm and BB axle to determine the position of the stops, then TIG tacked them into place. Took it all apart, and lit the oxy-acetylene torch. This is right after silver soldering the stops to the sprocket. It's resting on a heat brick. I figured there would be less warpage of the sprocket with the (lower heat) silver soldering >
The flux was soaked off in hot water; the sprocket was bead blasted and sent out for a 1/2 thou electroless nickel plating. Lots of things were nickel plated back in those early days, because chrome plating wasn't invented until the 1920's >
Thanks for taking the tour,
Paul Brodie

